
Last updated November 16, 2026
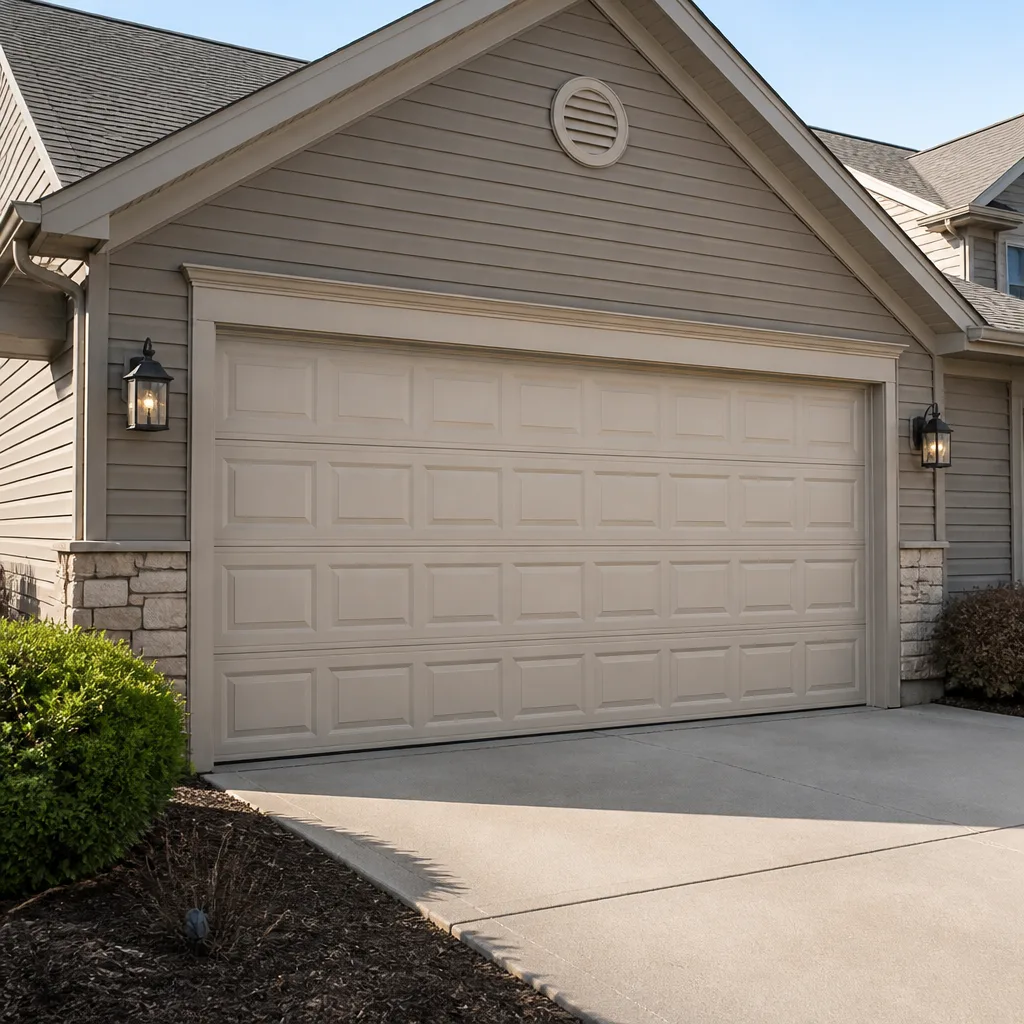 Raised-panel steel
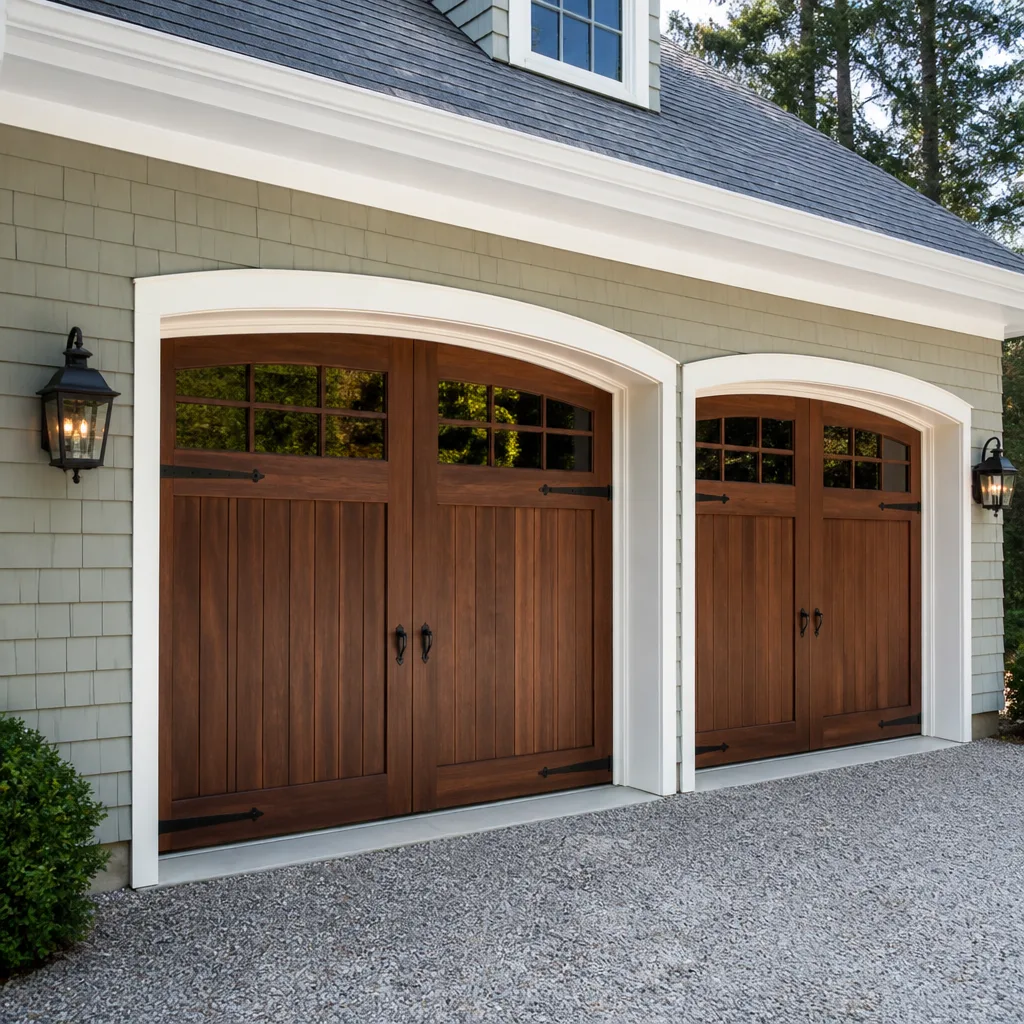 Carriage house
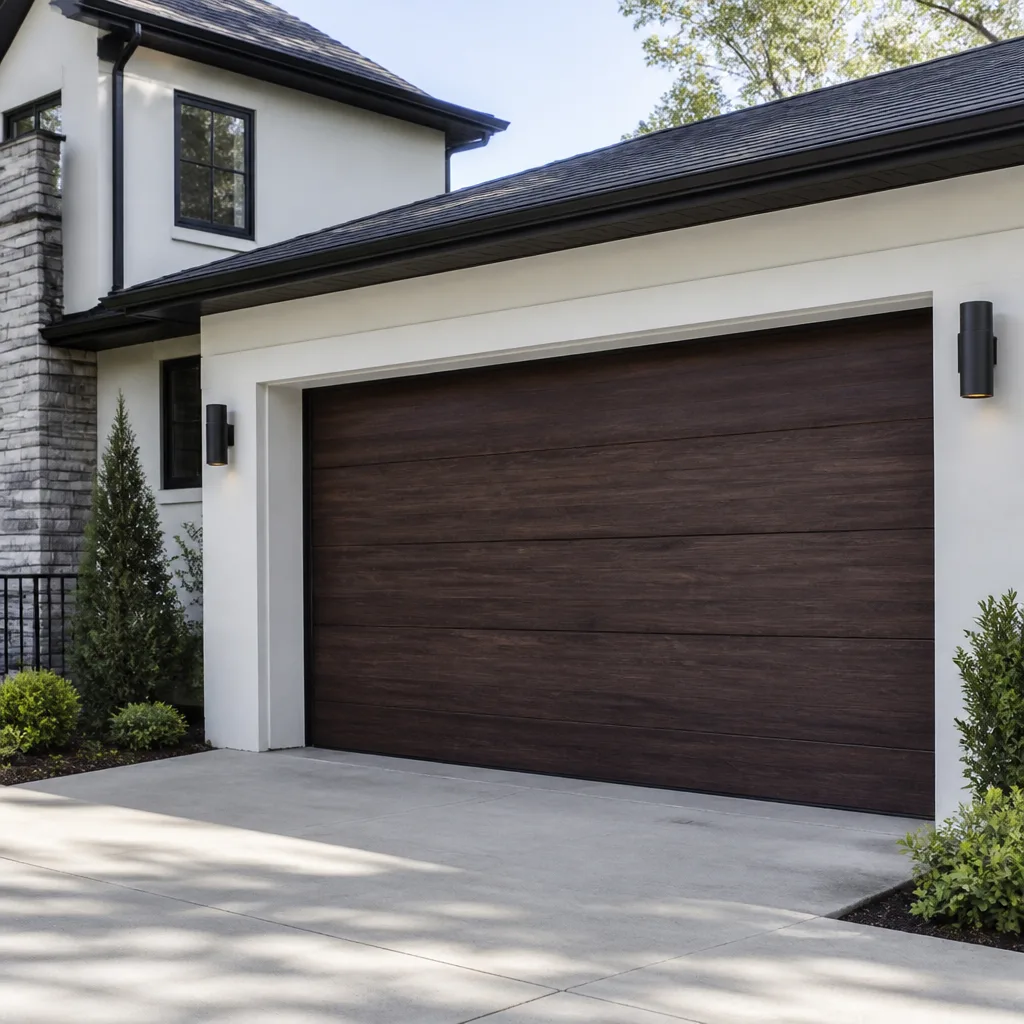 Modern flush
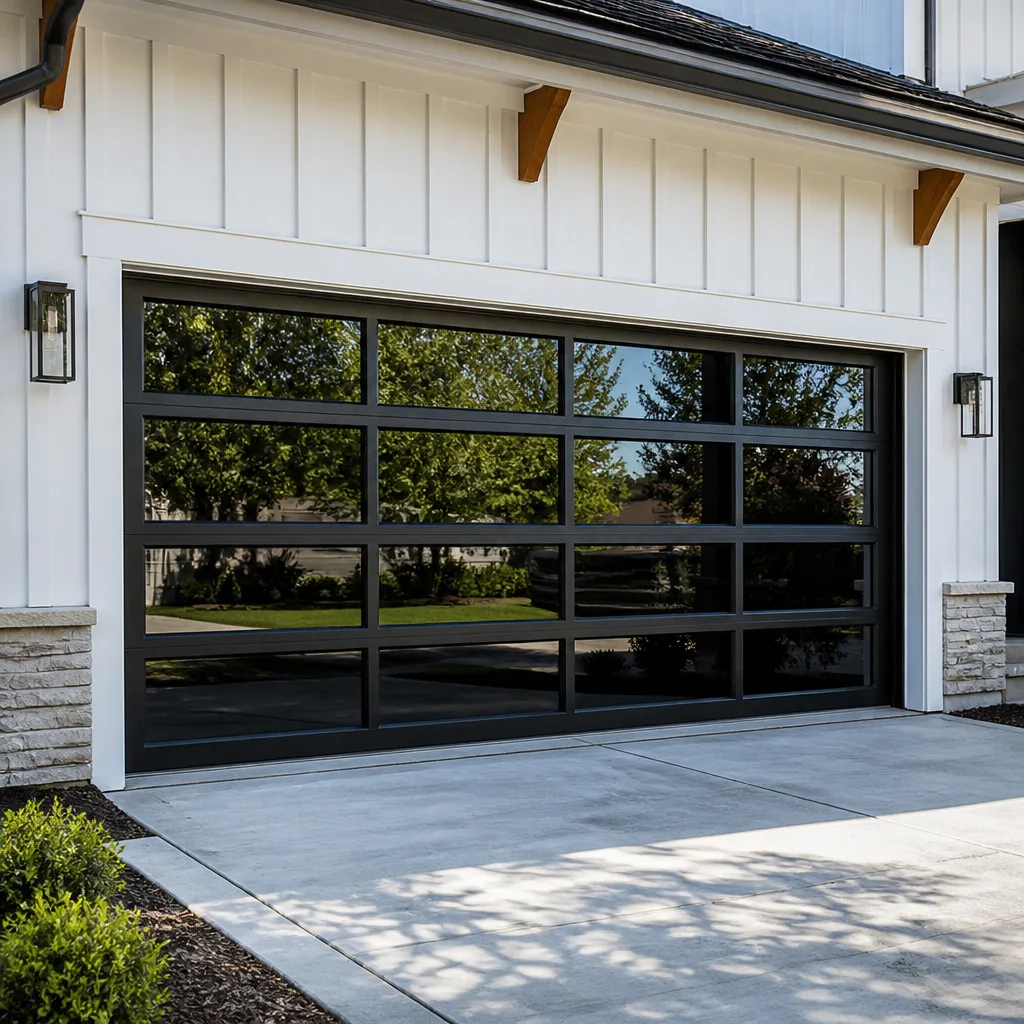 Full-view glass
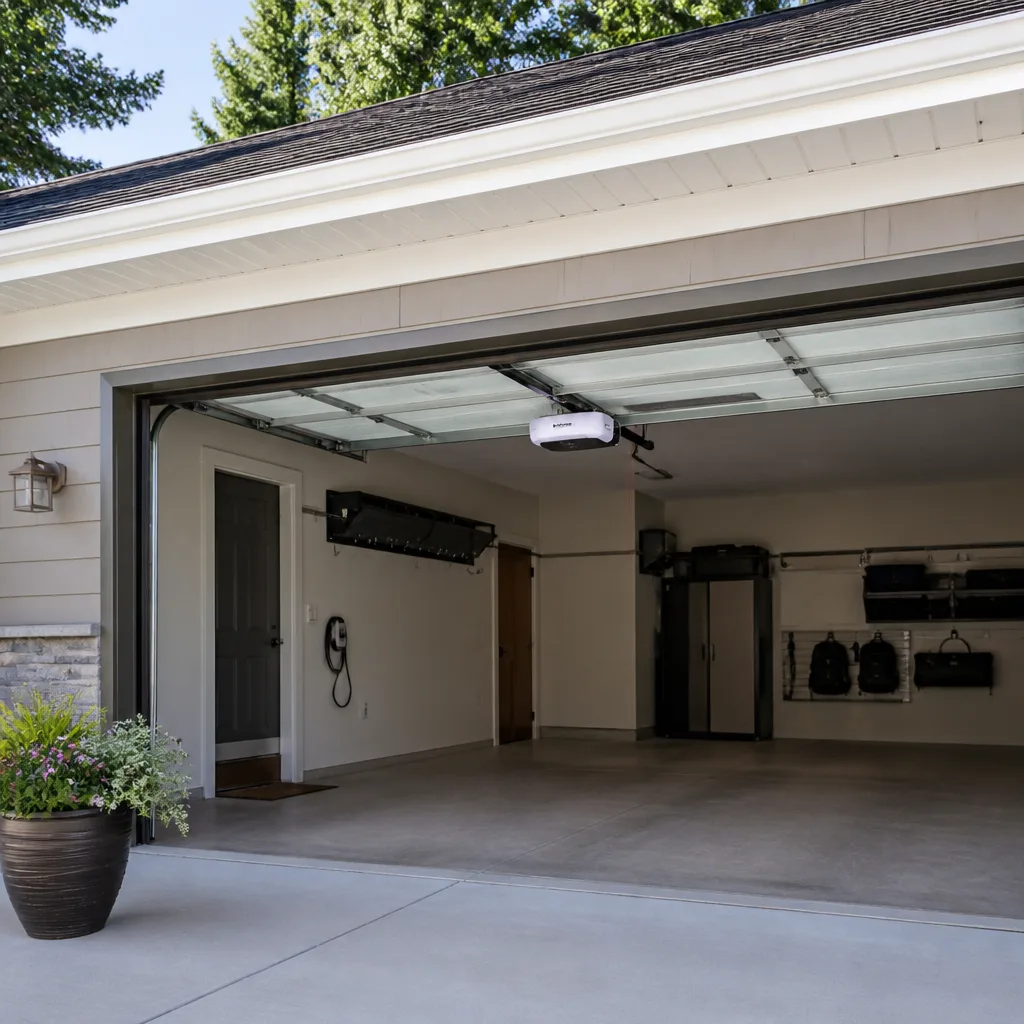 LiftMaster openers
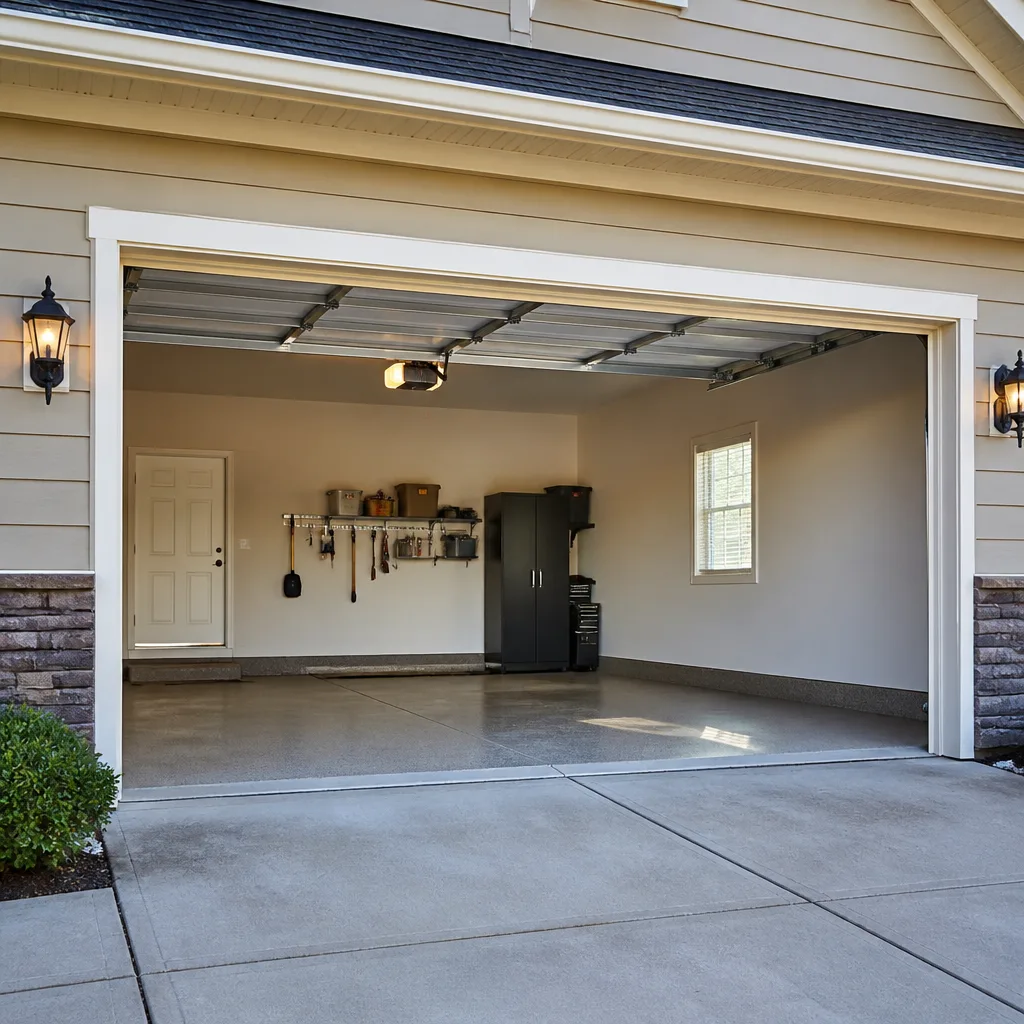 Chamberlain openers
Full 25-point door and opener safety check with every visit - springs, cables, rollers, tracks, and your LiftMaster or Chamberlain opener included
You get a price before we start. It does not change when the pro arrives.
Get your free estimateGarage Door Repair Maintenance Checklist for Sterling Heights Homeowners
Most homeowners think of garage door maintenance as an annual appointment, something to get to eventually. The truth is that a garage door in Sterling Heights doesn’t fail on a schedule. It fails at the worst possible moment: the first hard freeze of the season, when a summer’s worth of small problems suddenly becomes an emergency. The door that creaked a little in July can rack a panel or snap a cable in January. This guide walks through a maintenance checklist built specifically for the mechanical stresses that Sterling Heights weather puts on each component, from pre-freeze lubrication to the bolt and bracket checks that prevent mid-winter failures.
Styles & brands we work with
- Raised-panel steel
- Carriage house
- Modern flush
- Full-view glass
- LiftMaster openers
- Chamberlain openers
Quick Answer
A complete garage door maintenance checklist for Sterling Heights covers lubrication with a cold-rated product, a balance and tension test, inspection of cables, drums, rollers, and hinges, a reset of limit switches after frost heave, and replacement of a hardened bottom seal. Do the pre-freeze checks in October before the first hard freeze, repeat the balance and safety-reverse tests each season, and inspect the whole system once more in spring as temperatures warm back up.
Table of Contents
- Why Sterling Heights Climate Is Hard on Garage Doors
- The Pre-Freeze Lubrication Checklist
- How to Check and Reset Limit Switches After Frost Heave
- Cable and Drum Inspection Intervals for Temperature Swings
- Why Bottom Weatherstripping Fails Faster on Freeze-Thaw Concrete
- The Bolt and Bracket Torque Check That Prevents Panel Racking
- Seasonal Maintenance Schedule by Month
- Checking a Clopay, Amarr, Wayne Dalton, or Craftsman Door
- Common Mistakes to Avoid
- When to Call a Professional
- Frequently Asked Questions
- The Bottom Line
Why Sterling Heights Climate Is Hard on Garage Doors
A garage door in southeast Michigan lives through one of the widest temperature swings in the country. The same steel, aluminum, or wood panel that bakes at 90°F in July sits at minus 10°F on the coldest nights of January. Metal expands and contracts against itself. Springs cycle under more load. Seals harden and crack. And every part of the door flexes a few thousand times a year more than a door in a mild climate would.
That expansion and contraction is where most of the wear comes from. When the temperature drops forty degrees overnight, the steel tracks don’t shorten at the same rate as the wood jambs they’re mounted to. The spring tension doesn’t change, but the door’s weight distribution shifts slightly. Fasteners that were snug in September work loose by December. By the time the first hard freeze hits, the door has already absorbed a summer of thermal cycling, and every deferred adjustment turns into a repair call.
Sterling Heights homes also sit on some of the older concrete slabs in the metro area. The freeze-thaw cycles that crack driveways also shift slabs up and down by fractions of an inch. That movement is invisible to the eye, but it shows up at the bottom seal and at the floor threshold the door has to seal against. When the slab moves, the door stops sealing, and the drafts start. A garage door maintenance checklist that was written for a warmer climate simply misses this.
That’s why the checks below are sequenced around the calendar, not around average mileage or a generic annual inspection template. If you want the underlying repair landscape first, our guide to garage door repair covers the failure modes in more depth. Here, we’re focused entirely on what you can inspect and what needs a trained hand.
The Pre-Freeze Lubrication Checklist
Lubricant choice is the single most overlooked piece of pre-winter maintenance on a garage door, and it’s where most DIY checklists go wrong. The oil that flows easily in September can thicken to a slow paste at minus 5°F. A stiff lubricant does two bad things at once: it drags on the rollers and hinges, and it loads the torsion spring with extra resistance every cycle. That extra drag is exactly what accelerates spring wear, and the spring is the part that fails most dramatically in cold weather.
Here’s the check to run before the first hard freeze:
- Choose a cold-rated lubricant. A lithium grease rated for cold temperatures or a synthetic spray lubricant labeled for below-zero use is what you want. Standard motor oil and general-purpose spray lubricants stiffen too much below freezing.
- Lubricate every moving joint. Rollers, hinges, the torsion spring coils, and the bearing plates at the ends of the torsion bar all need a light coat.
- Skip the tracks. Tracks should be clean and dry, not greasy. Lubricant on the tracks attracts grit that wears the rollers faster.
- Wipe off excess. A thin film is all that’s needed. Heavy buildup holds dirt and stiffens in cold weather.
- Test the door by hand. Disconnect the opener and lift the door halfway. It should move with smooth, even resistance. If it feels heavy or jerky, the lubricant isn’t the only problem.
We’ve seen doors in Sterling Heights where the wrong lubricant turned a routine adjustment into a full spring replacement, simply because the extra drag cycled the spring thousands of times more than the design intended. Matching the lubricant to the climate is that consequential. If you’re not sure what’s already on the door, a professional can identify it. Our garage door opener repair team also checks opener load after lubrication, since a door that ran stiff for months stresses the opener motor too.
How to Check and Reset Limit Switches After Frost Heave
Frost heave is a slow, quiet problem. As the ground freezes and thaws through the winter, the concrete slab at the garage floor moves up and down by tiny amounts. Over a season it can shift enough that the door no longer travels fully down to the floor, or travels too far and strains against it. When the opener’s limit switches were set against a floor position in October, that shift shows up as a door that stops an inch above the concrete or reverses before it lands.
Here’s what a limit switch check involves on most openers:
- Close the door and watch where it stops. If it hovers above the floor instead of meeting it, the down limit is set too high for the current floor position.
- Watch the reverse test. Place a small block of wood on the floor in the door’s path and close the door. It should reverse immediately on contact. If it doesn’t, the opener’s force setting or the down limit needs adjustment.
- Locate the limit adjustment. On most LiftMaster, Chamberlain, Genie, and Craftsman openers, the limit screws are on the side or back of the motor housing, labeled for up and down travel.
- Adjust in small increments. A quarter turn at a time, then test. Overshooting is common and can cause the door to over-travel and strain.
- Re-test the safety reverse every time. This is the non-negotiable step. The door must reverse on contact.
If you’ve adjusted the limit and the door still stops at the wrong point, the problem is likely in the travel module or the logic board, not the limit screw. That’s a diagnostic call, not a homeowner adjustment. Newer openers with a smart-home app often show the limit status in the app, which makes the check easier, but the adjustment still has to be done at the unit. If you’d rather not make the call on a safety-reverse failure, that’s the exact verification we run on every opener repair call.
Cable and Drum Inspection Intervals for Temperature Swings
Cables and drums carry the load of the door through thousands of cycles a year, and in Michigan they cycle through more temperature variation than in almost any other climate. A door in Sterling Heights can run from minus 10°F to 90°F in a single season, and every one of those swings puts micro-stress on the cable strands and the drum grooves. The result is that a maintenance interval based on average use isn’t enough here; it’s better to inspect on a schedule that matches the temperature swings.
What to check and how often:
- Cables: inspect every three months for fraying, kinks, and rust. Look at the cable where it wraps the drum, not just at the ends.
- Drums: check for grooving, chipped edges, and cable that isn’t seating in the groove cleanly. A drum that has grooved is a sign the cable has been walking out of place.
- Cable tension: both cables should be under even tension. A loose side means the door is running crooked and will wear both cables faster.
- Cable attachment points: check the bottom bracket and the drum set screws. These are the spots most likely to loosen with temperature cycling.
- Springs: look for a visible gap in the coil, corrosion, or a door that feels heavier on one side. Both are signs of spring fatigue.
Safety note: the cables, drums, and torsion spring are all high-tension components. The spring alone can be under hundreds of pounds of force, and a cable under load can snap with enough energy to cause serious injury. Do not attempt to adjust, remove, or re-tension cables or springs yourself. A trained technician has the tools and the procedure to release tension safely. This is the one part of the checklist that’s inspection-only for the homeowner.
We’ve seen the results of a do-it-yourself cable adjustment, and they’re a good argument for leaving this to a professional. If a cable looks damaged or a drum shows obvious grooving, stop using the door and arrange a repair. Brands like Clopay and Amarr use drum and cable assemblies that are built to spec with the door, and replacing those parts with generic substitutes is a common reason a door fails again a few months later.
Why Bottom Weatherstripping Fails Faster on Freeze-Thaw Concrete
The bottom seal on a Sterling Heights garage door usually fails faster than the manufacturer’s literature suggests, and the reason is the concrete slab underneath it. Every winter, moisture finds its way into the tiny cracks and pores in the concrete at the door threshold. It freezes, expands, and lifts. It thaws and settles. That cycle repeats dozens of times a season, and each one shifts the surface the seal rests on by a fraction of an inch. A rubber seal that was making perfect contact in October is making partial contact by January.
The failure is usually visible as one of these signs:
- Visible light under the door when it’s closed
- A seal that has flattened, cracked, or torn
- Drafts or cold air at the bottom of the door
- Water or snow getting in along the threshold
- A seal that has hardened and no longer compresses
A realistic replacement interval for a bottom seal in this climate is every two to three years, and sooner on doors with older concrete or a slab that has visibly cracked at the threshold. The seal itself is inexpensive; the cost is in getting the right profile for the door and installing it without leaving gaps. A vinyl or rubber U-shaped seal works best on most standard doors. A brush seal is a common upgrade for high-wind areas but isn’t necessary for most Sterling Heights homes.
If the slab itself has shifted enough that a new seal won’t sit flush, the fix may be a threshold extension or a door adjustment rather than just a seal swap. A company that only does garage doors has seen your problem before, including the frost-heave threshold issues that come with older slabs in this area. The bottom seal also protects the door’s panels from moisture, so keeping it intact extends the life of the door itself.
The Bolt and Bracket Torque Check That Prevents Panel Racking
The most common mid-winter panel failure we see isn’t a broken panel; it’s a panel that has racked on its hinges because a bracket loosened over the summer. As the door cycles through temperature swings, the fasteners that hold the hinges to the stiles work loose by fractions of an inch. The door still opens and closes, so the problem is invisible until the extra stress at one corner cracks the panel or strips a hinge. By January, a five-minute check in October would have prevented a full panel replacement.
The check itself is straightforward:
- Open the door fully and check the hinges. Every hinge bolt should be snug. Grip each hinge and try to wiggle it. Any movement means the fastener is loose.
- Check the panel-to-panel brackets. These are the brackets that hold adjacent sections together. They should be tight, with no visible gap or play.
- Check the bottom and top roller brackets. These carry the most load and are the most likely to loosen first.
- Torque to spec. Snug is the goal, not over-tightened. Over-tightened bolts compress the hinge material and strip the fastener hole.
- Check the vertical and horizontal track bolts. Loose track bolts are another source of panel racking, because the door runs out of alignment.
If a fastener won’t hold its torque, the hole has likely stripped. That’s a bracket replacement, not a tightening fix. A door that has racked needs more than tightened bolts; the panels have to be realigned so the hinges and the door operate on the same plane again. We can diagnose that alignment and restore operation without replacing panels that don’t need it. On a Wayne Dalton or Craftsman door, the hinge and bracket pattern is specific to the model, so matching the parts correctly matters.
Seasonal Maintenance Schedule by Month
A maintenance calendar built for Michigan’s climate looks different from a generic twice-a-year checklist. Here’s how we sequence the checks through the year for a Sterling Heights home:
October (before the first hard freeze):
- Cold-rated lubrication of all moving joints
- Limit switch check and safety-reverse test
- Cable and drum visual inspection
- Bolt and bracket torque check
- Bottom seal inspection and replacement if worn
December through February:
- Monthly safety-reverse test
- Watch for a door that stops short or reverses early (limit drift from frost heave)
- Listen for a door that runs stiff or noisy (lubricant may be thick in cold)
- Keep the track clear of snow and ice buildup at the threshold
April (after the last freeze):
- Full cable, drum, and spring inspection
- Re-torque hinges, brackets, and track bolts
- Check the bottom seal for winter damage
- Test the safety reverse again as temperatures warm
July (mid-season check):
- Balance test: lift the door halfway by hand, it should hold position
- Roller inspection for flat spots and worn bearings
- Clean and re-lubricate as needed
- Opener force test: the door should reverse easily on contact
That’s four touchpoints a year, and the October and April checks are the two that matter most. If you only do two, do those. The rest is insurance.
Checking a Clopay, Amarr, Wayne Dalton, or Craftsman Door
Most of what we’ve covered applies regardless of the brand on the door, but there are a few model-specific details worth knowing before you start. A Clopay or Amarr door uses hinge and bracket patterns specific to the model series, so if a bracket needs replacing, matching the exact part matters. A Wayne Dalton door often uses proprietary hardware that a generic bracket won’t fit correctly. A Craftsman opener, like the Chamberlain and LiftMaster units it shares a platform with, has its limit and force adjustments in predictable locations, which makes the limit check faster.
We service all eight of the most widely installed brands: LiftMaster, Chamberlain, Genie, Clopay, Amarr, Wayne Dalton, Craftsman, and Raynor. If your door or opener isn’t on that list, we’ll tell you upfront rather than send a technician who’ll be guessing. That’s part of why we keep the brand list short and trained-to-spec: a technician who has worked on your exact model before diagnoses faster and replaces fewer parts that didn’t need replacing.
If you’re on the fence about whether a repair or a replacement is the right call, our guide to the full Sterling Heights service area covers the decision points. The general rule: a panel repair, hinge replacement, or opener fix is usually worth doing on any door in good structural shape; a door with multiple cracked panels, a rusted track, or a failing spring on an aging installation is often a replacement candidate. Our team can diagnose the difference in a single visit.
Common Mistakes to Avoid
- Using a warm-weather lubricant in Michigan. Standard spray lubricant and motor oil stiffen below freezing and load the spring with extra drag. Use a cold-rated product and reapply before the first freeze.
- Adjusting limit switches without re-testing the safety reverse. The reverse test is what keeps the door safe. Skipping it is the most common reason a limit adjustment turns into a safety issue.
- Over-tightening bolts to stop a looseness problem. Over-torque strips the fastener holes and makes the problem permanent. Snug is correct.
- Replacing a bottom seal without checking the slab. If the concrete has shifted, a new seal won’t sit flush. Address the threshold before the seal.
- Attempting a cable or spring adjustment to save a call. These are high-tension parts. The potential for serious injury is real, and the part failure can be immediate. This is a professional-only repair.
- Waiting until the first hard freeze to do anything. The window for preventive maintenance is October, not January. Once the deep freeze hits, a repair call may take longer than a pre-season adjustment would have.
- Using generic parts on a brand-specific door. A bracket or hinge that doesn’t match the model can rack the panel and cost more to fix than the part saved.
When to Call a Professional
Some checks are homeowner territory: lubrication, the safety-reverse test, a visual inspection of the seal, and a wiggle test on the hinges. Others need a trained hand. Call a professional if a cable looks frayed, kinked, or slack; if the door racks or runs crooked; if a spring shows a visible gap or the door feels dramatically heavier on one side; if the door reverses on its own or the opener’s limit adjustment doesn’t hold; or if the bottom bracket, drum, or torsion bar shows any sign of movement. Those are exactly the failure points that a seasonal maintenance checklist is designed to catch early and that a mid-winter emergency call is usually dealing with at the worst moment.
Avalon Garage Door Service offers free estimates in Sterling Heights. Call (866) 361-7888. We answer 24/7. Fast dispatch from 7am to 7pm, Sunday through Friday. Our technicians have up to 14 years of experience, and we service every brand on the list above. Whether it’s a single panel repair, a full opener diagnostic, or a complete door replacement, we can diagnose it in one visit.
Frequently Asked Questions
Twice a year at minimum, and the October and April checks are the two that matter most in this climate. The October check covers the pre-freeze lubrication, limit switch adjustment, and torque check that prevent winter failures. The April check catches winter damage and re-torques anything that loosened over the cold season. A mid-summer balance check and monthly safety-reverse test fill in the rest of the year.
A cold-rated lithium grease or a synthetic spray lubricant labeled for below-zero use. Standard motor oil, WD-40 (as a lubricant, not a penetrating oil), and general-purpose spray lubricants stiffen too much below freezing and load the torsion spring. Apply a thin coat to rollers, hinges, springs, and bearing plates before the first hard freeze, and keep the tracks clean and dry rather than greased.
You can check them, and on most LiftMaster, Chamberlain, Genie, and Craftsman units, the limit screws are accessible for a small adjustment. The critical step is the safety-reverse test after every adjustment: place a block of wood in the door’s path and confirm the door reverses on contact. If the door still travels to the wrong point after a limit adjustment, or the reverse test fails, that’s a diagnostic call and time to bring in a technician.
Freeze-thaw cycles on the concrete slab at the threshold. Moisture in the concrete freezes, expands, and shifts the slab surface by small amounts each winter, which gradually leaves the seal making partial contact. A realistic replacement interval is every two to three years in this climate, sooner if the slab is visibly cracked or has shifted at the door threshold.
Yes, and the risk is serious. Torsion and extension springs are under high tension and fail most often in cold weather, when the metal is more brittle and the extra drag from a stiff door cycles the spring harder. If you see a visible gap in the spring coil, corrosion, or a door that suddenly feels much heavier, stop using the door and call a professional. Never attempt a spring adjustment or replacement yourself; the tension is enough to cause serious injury.
Look for a company that specializes in garage doors specifically, services the brand of your door and opener, gives a written estimate before any work starts, and holds the required state license and insurance. A company that only does garage doors has seen your exact failure before, which means faster diagnosis and fewer unnecessary part replacements. Ask directly whether they service your brand; the answer tells you a lot.
The Bottom Line
A maintenance checklist built for a mild climate misses the three failure points that cause most emergency garage door calls in Sterling Heights: stiff lubricant that loads the spring, frost heave that drifts the limit switch and the bottom seal, and loose brackets that rack a panel mid-winter. Match the lubricant to the cold, reset the limit after the freeze, inspect cables and drums on a temperature-driven schedule, replace the bottom seal every two to three years, and torque the brackets before the first hard freeze in October. The checks you can do yourself take an hour twice a year. The rest is what we’re here for.
Call Avalon Garage Door Service at (866) 361-7888 for a free estimate. We answer 24/7. Fast dispatch from 7am to 7pm, Sunday through Friday. We service LiftMaster, Chamberlain, Genie, Clopay, Amarr, Wayne Dalton, Craftsman, and Raynor doors and openers across Avalon Garage Door Service‘s Sterling Heights service area, and we’ll tell you upfront if a repair or a replacement is the right call.
Written by the team at Avalon Garage Door Service.
See the difference
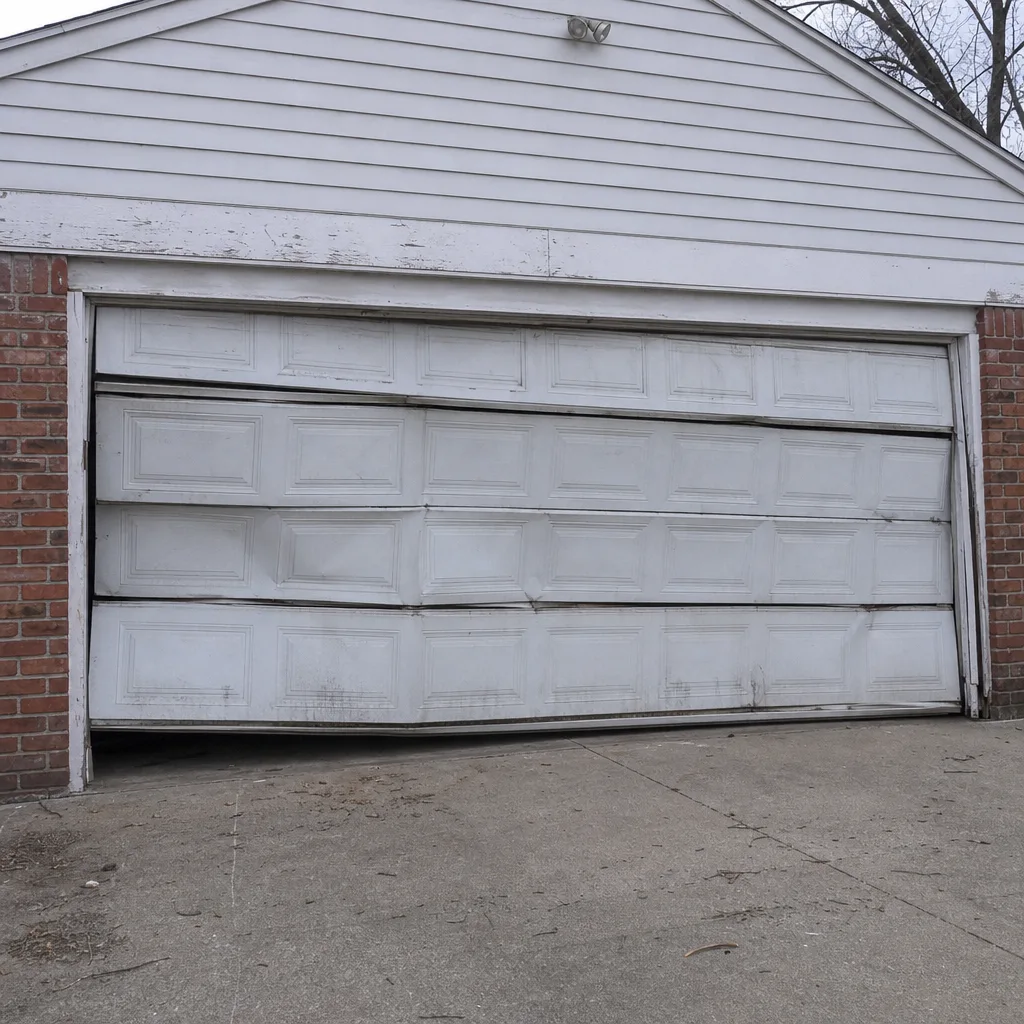 Before
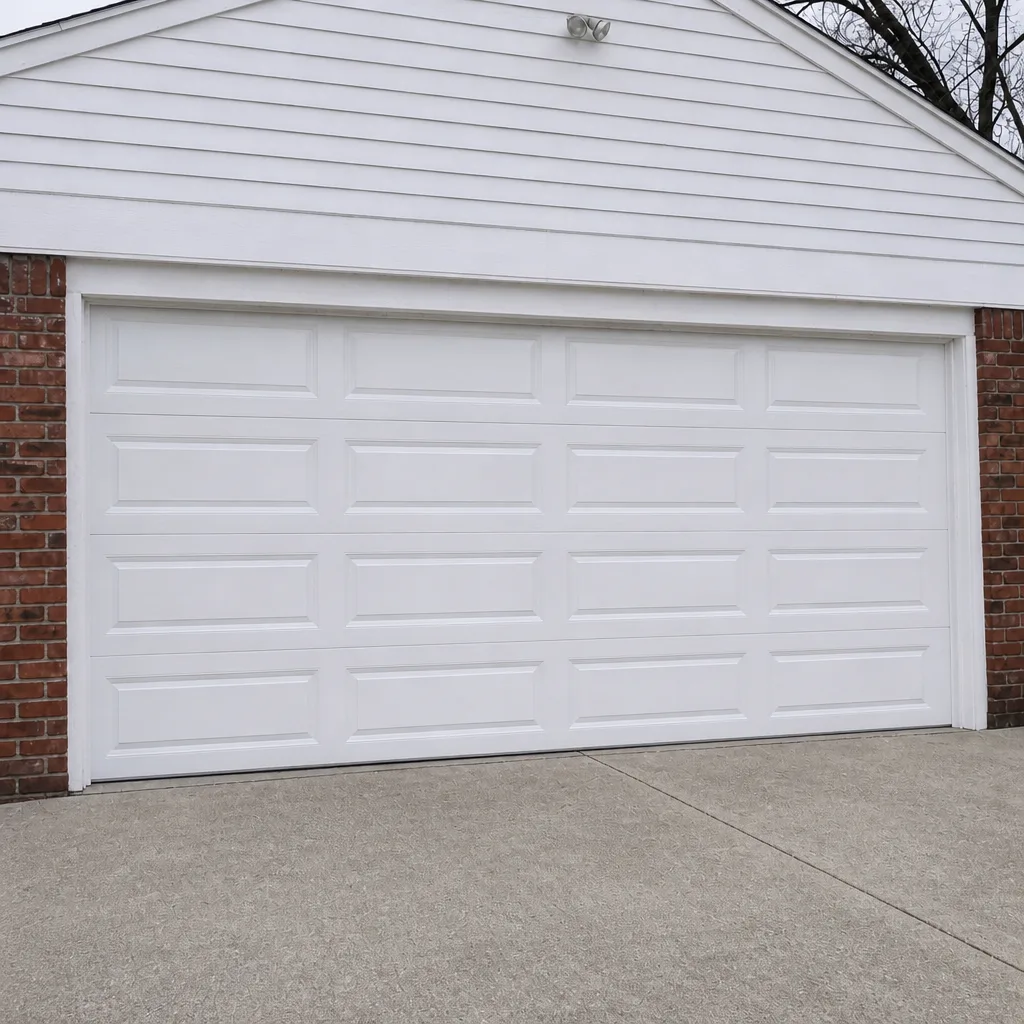 After
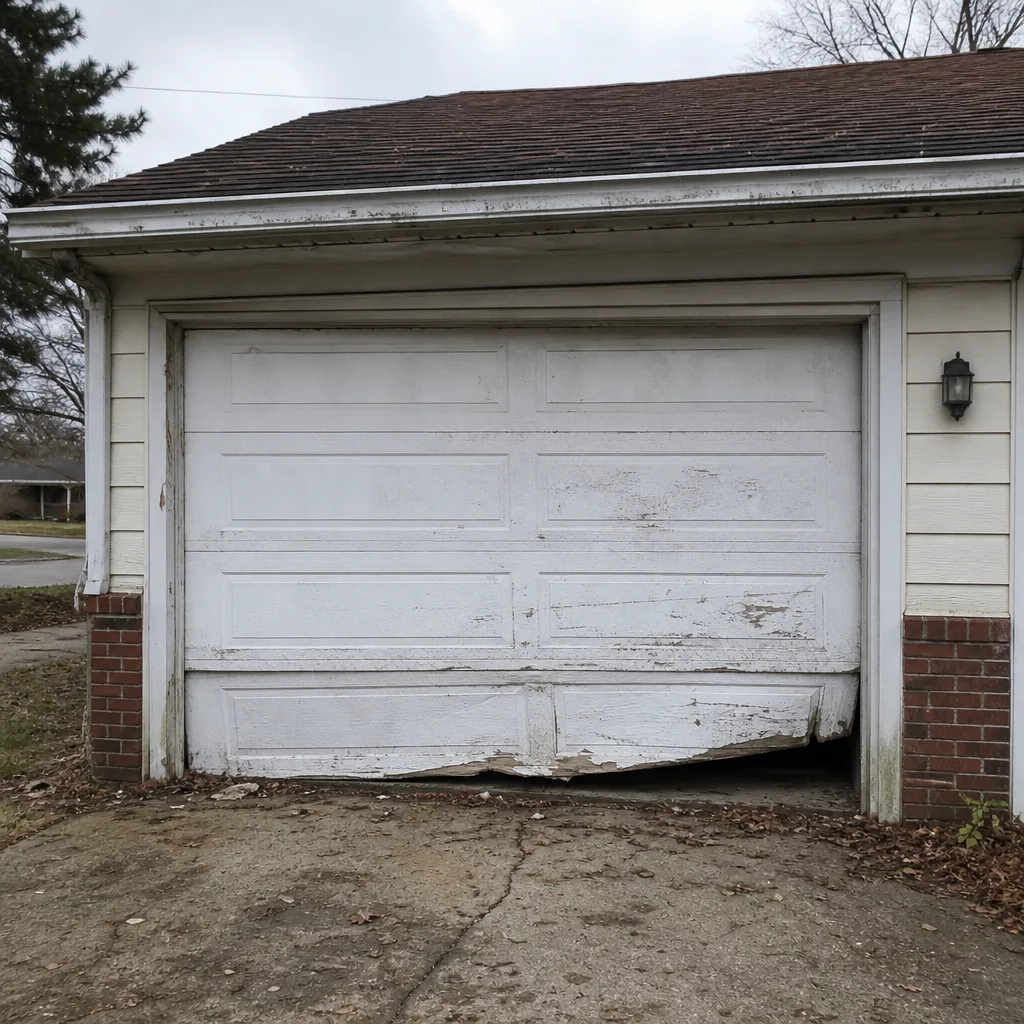 Before
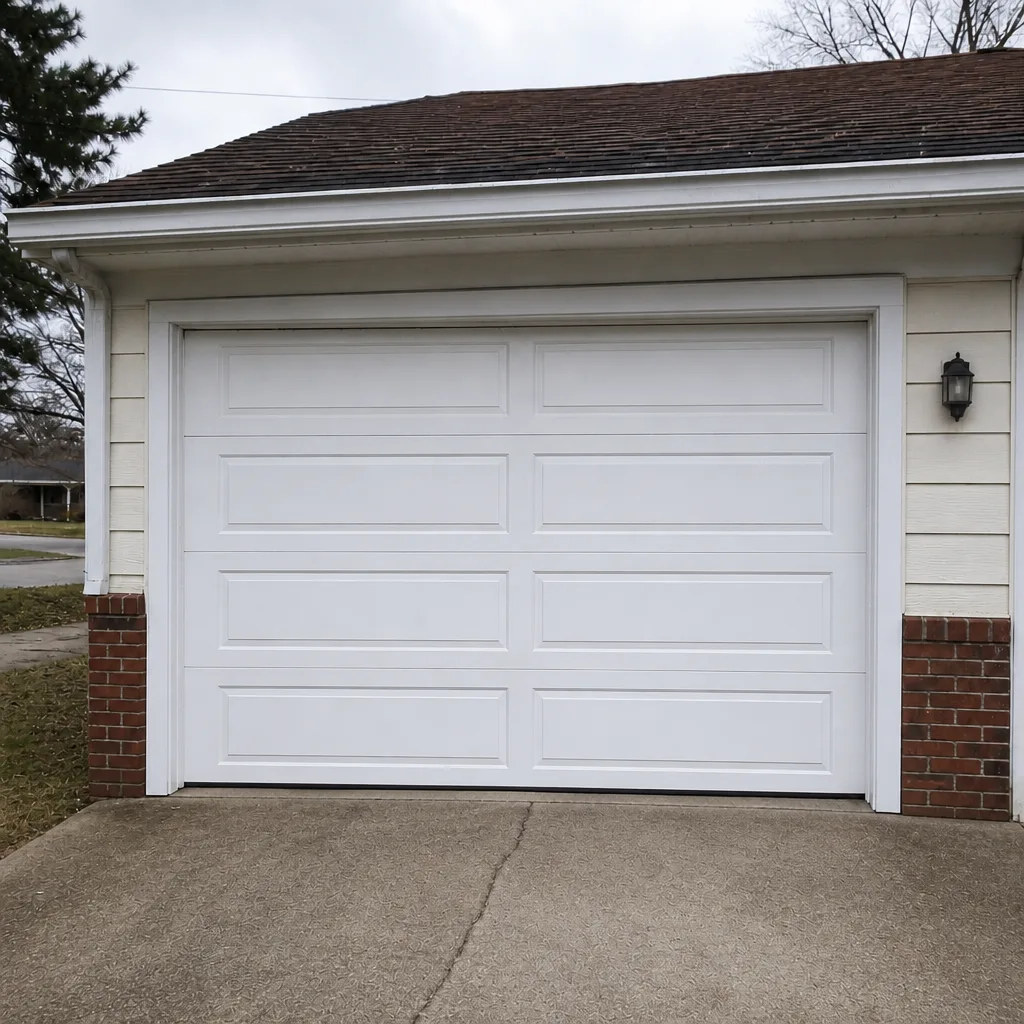 After
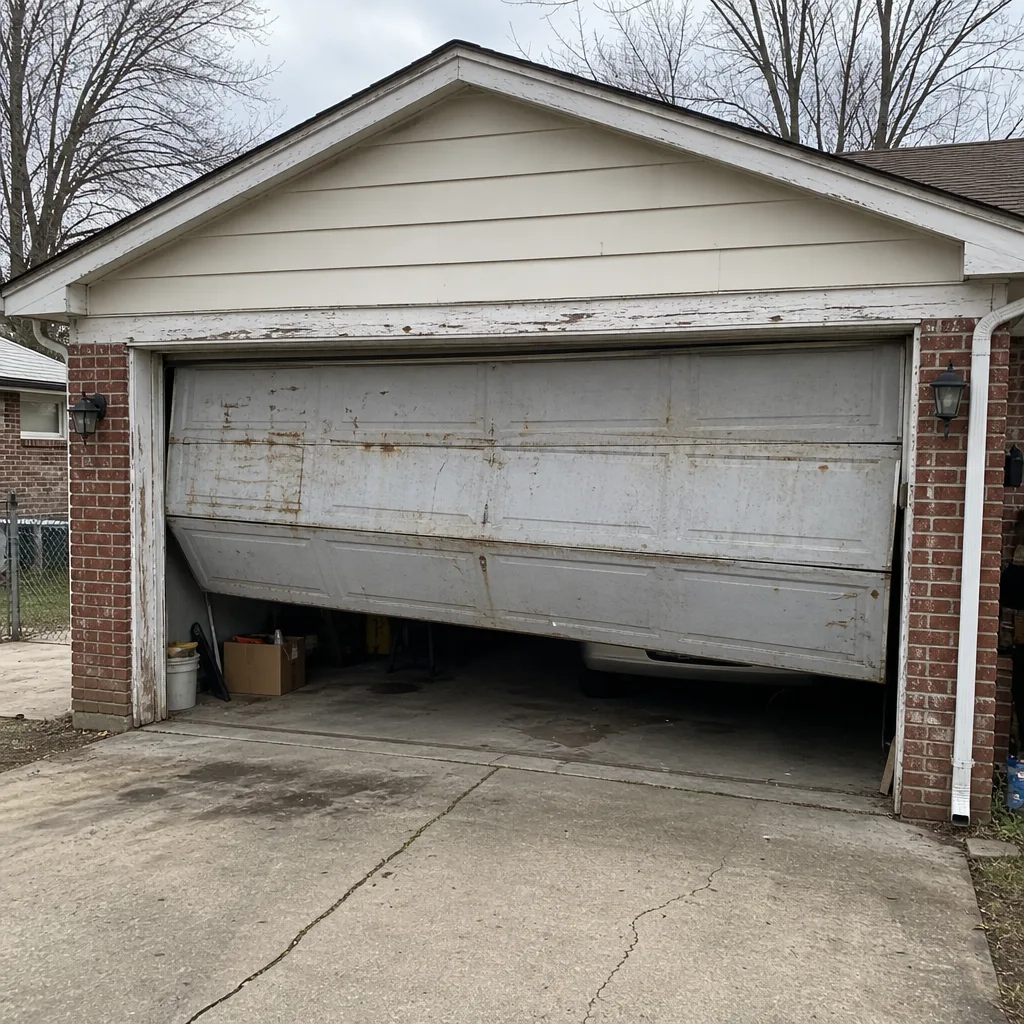 Before
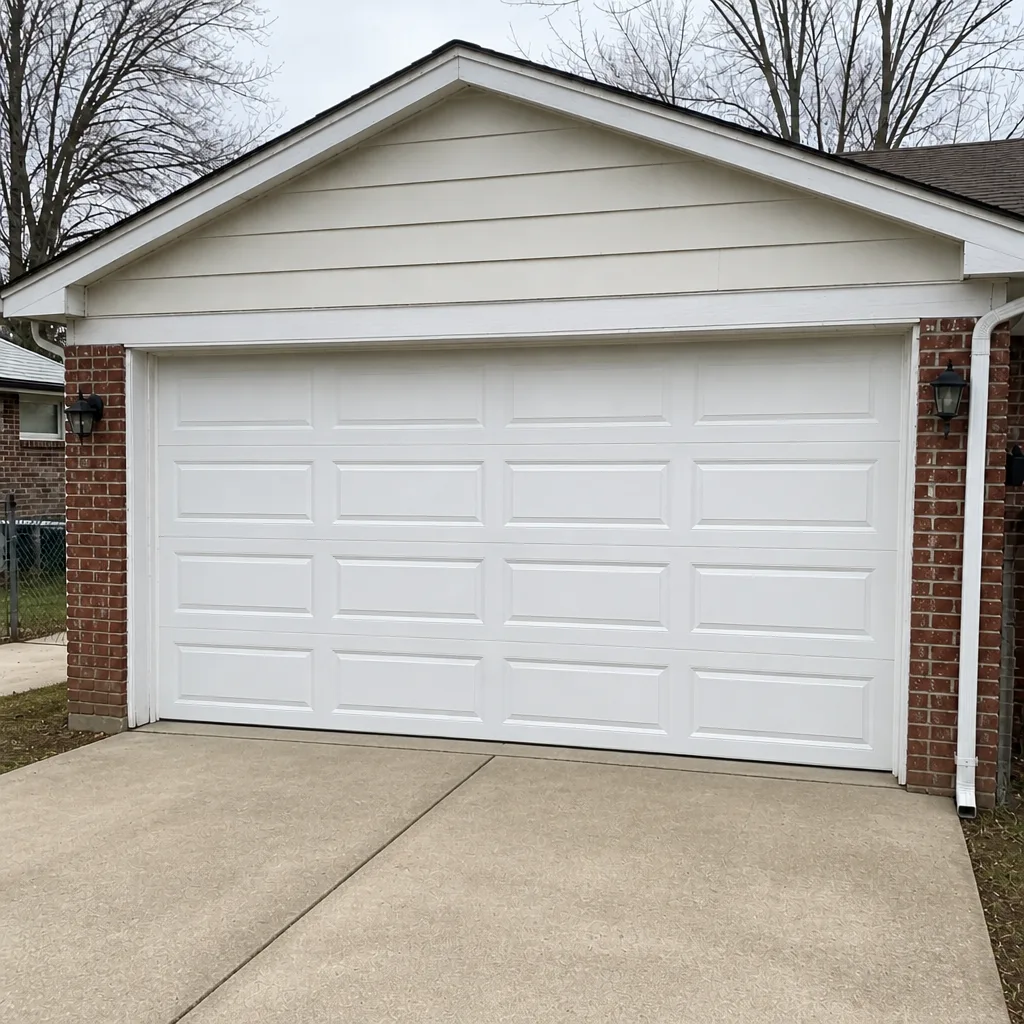 After